Welcome to Get Star Weld!

Welcome to Get Star Weld!
06 May, 2026
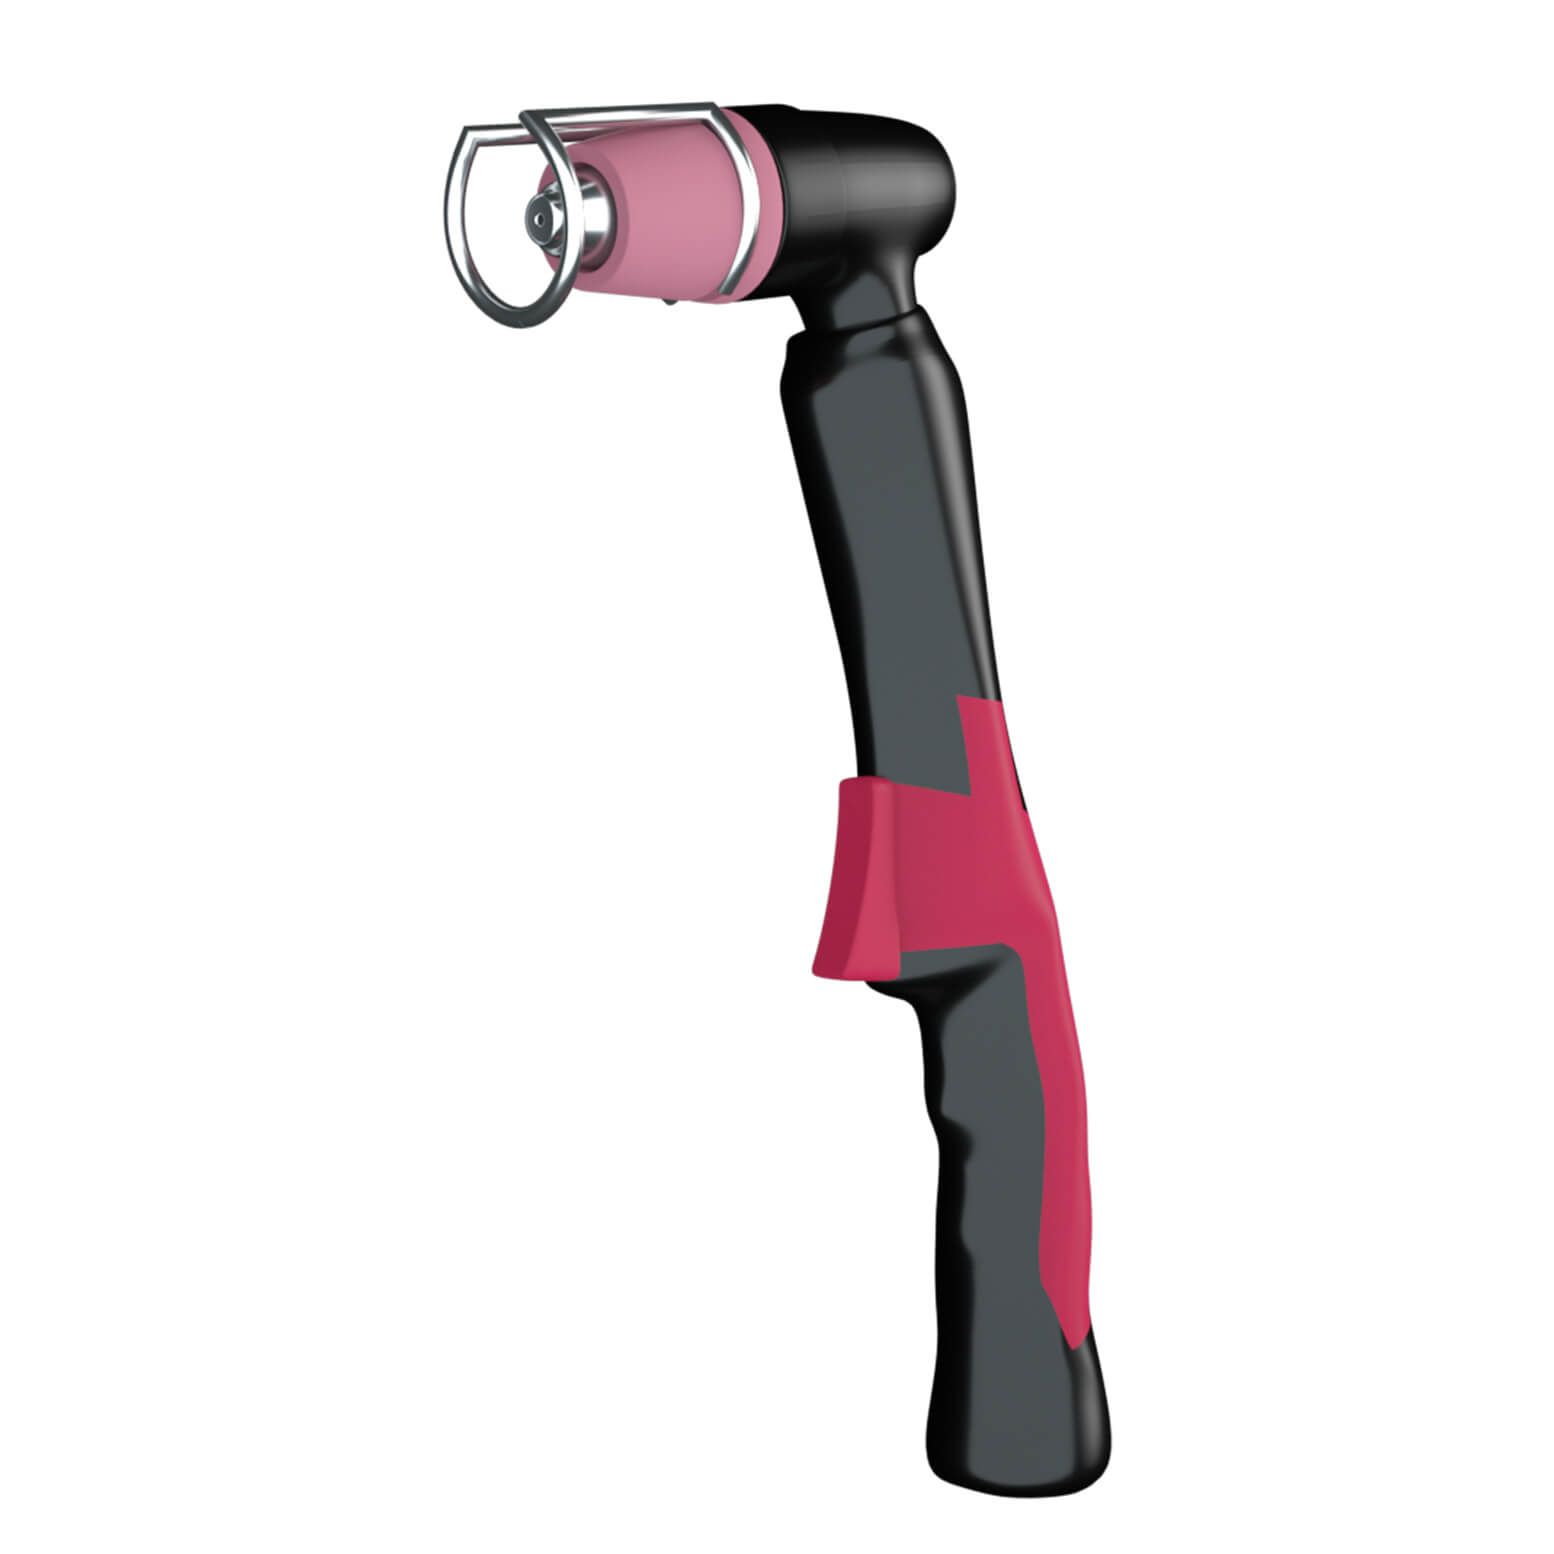
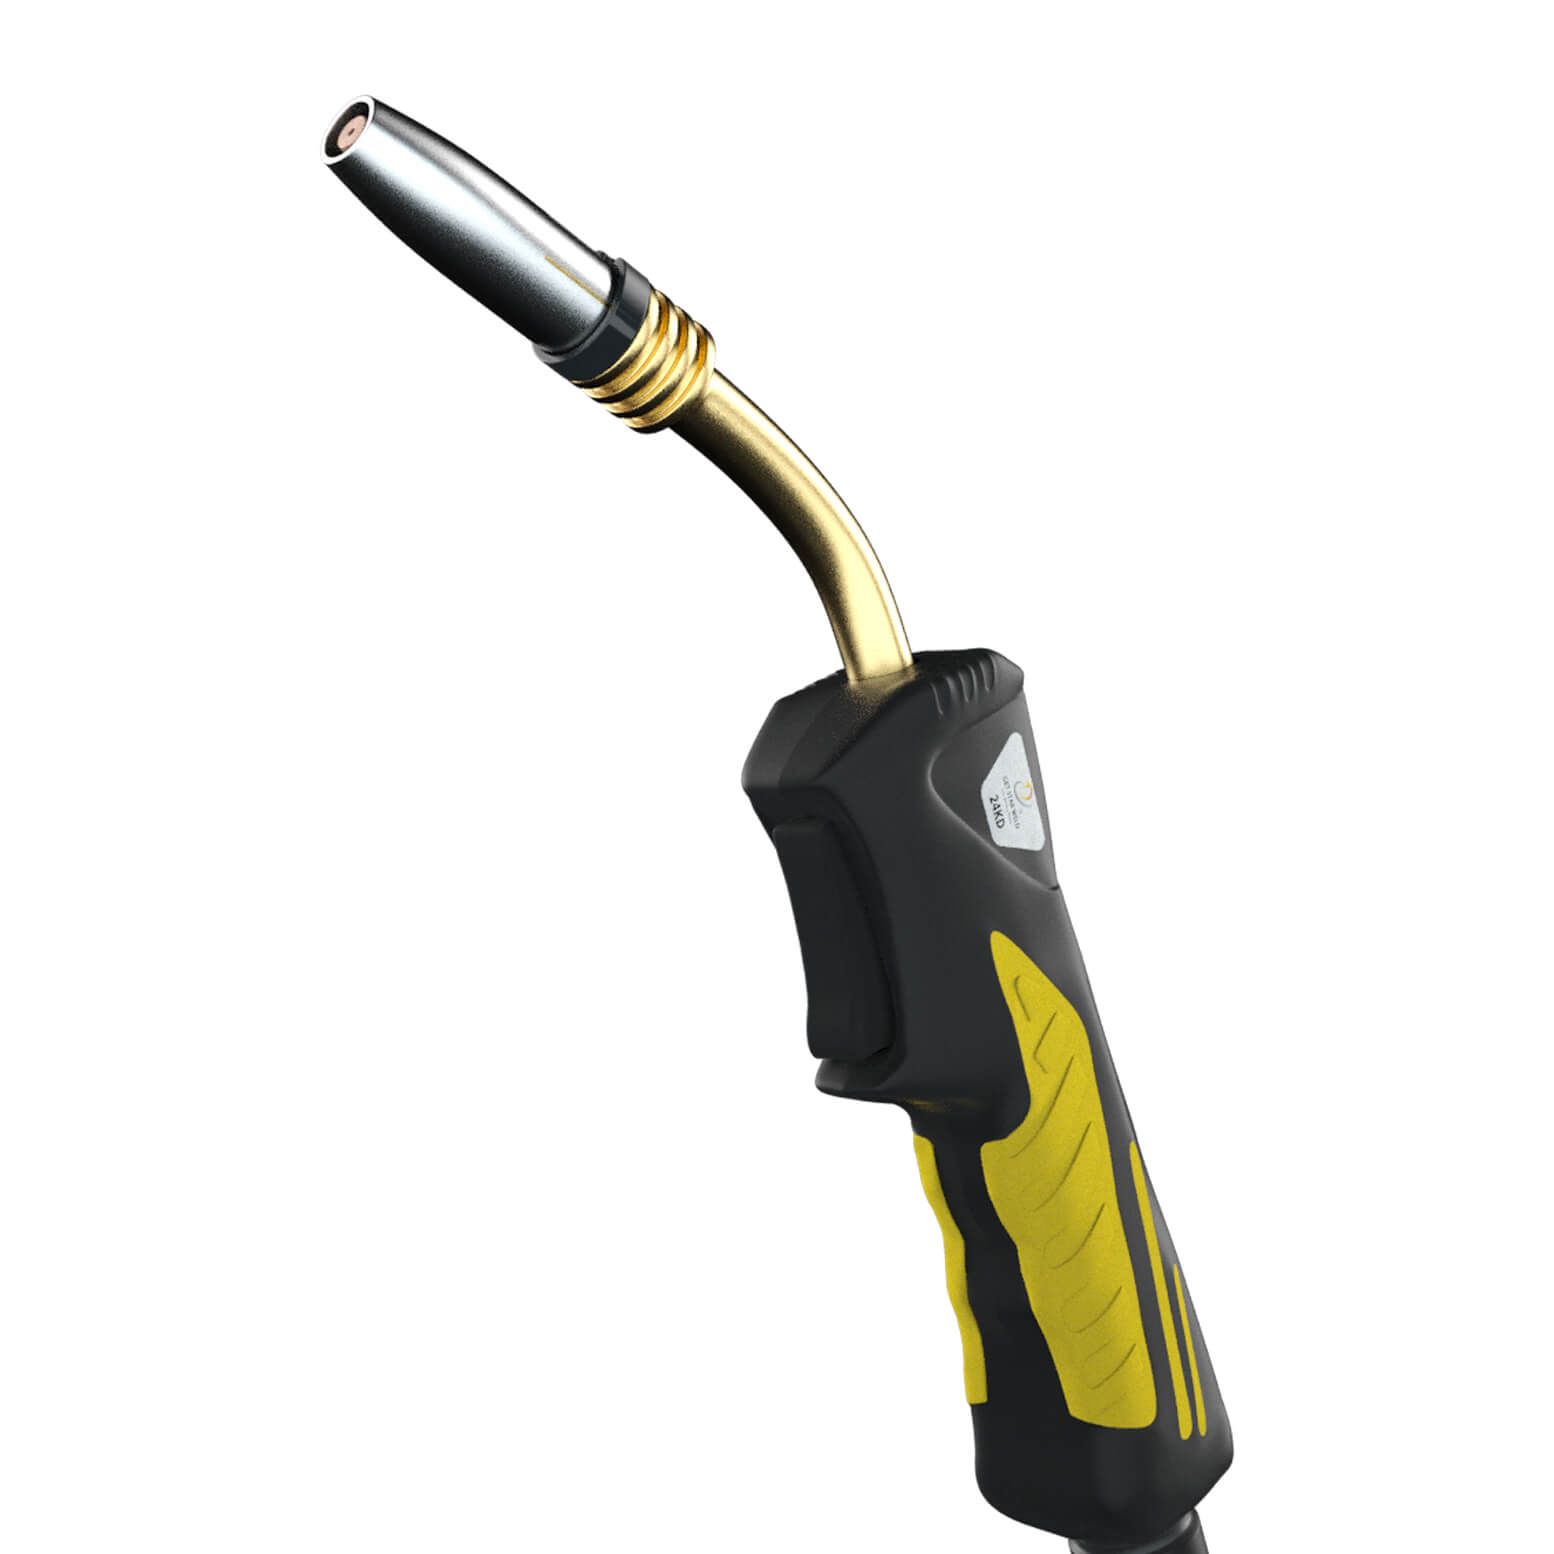
Most welders find out the hard way - a misassembled TIG torch doesn't always fail immediately. It silently kills your arc stability and burns up consumables more quickly and leaves you searching for weld defects that were never really about your technique in the first place. They were always about setup. Three of the most popular TIG torch models used in fabrication shops, pipe welding systems, and production lines are the WP-17, the WP-18, and the WP-26. They look similar. They share consumables. And yet they are not the same - and setting them up without understanding those differences is where things go wrong.
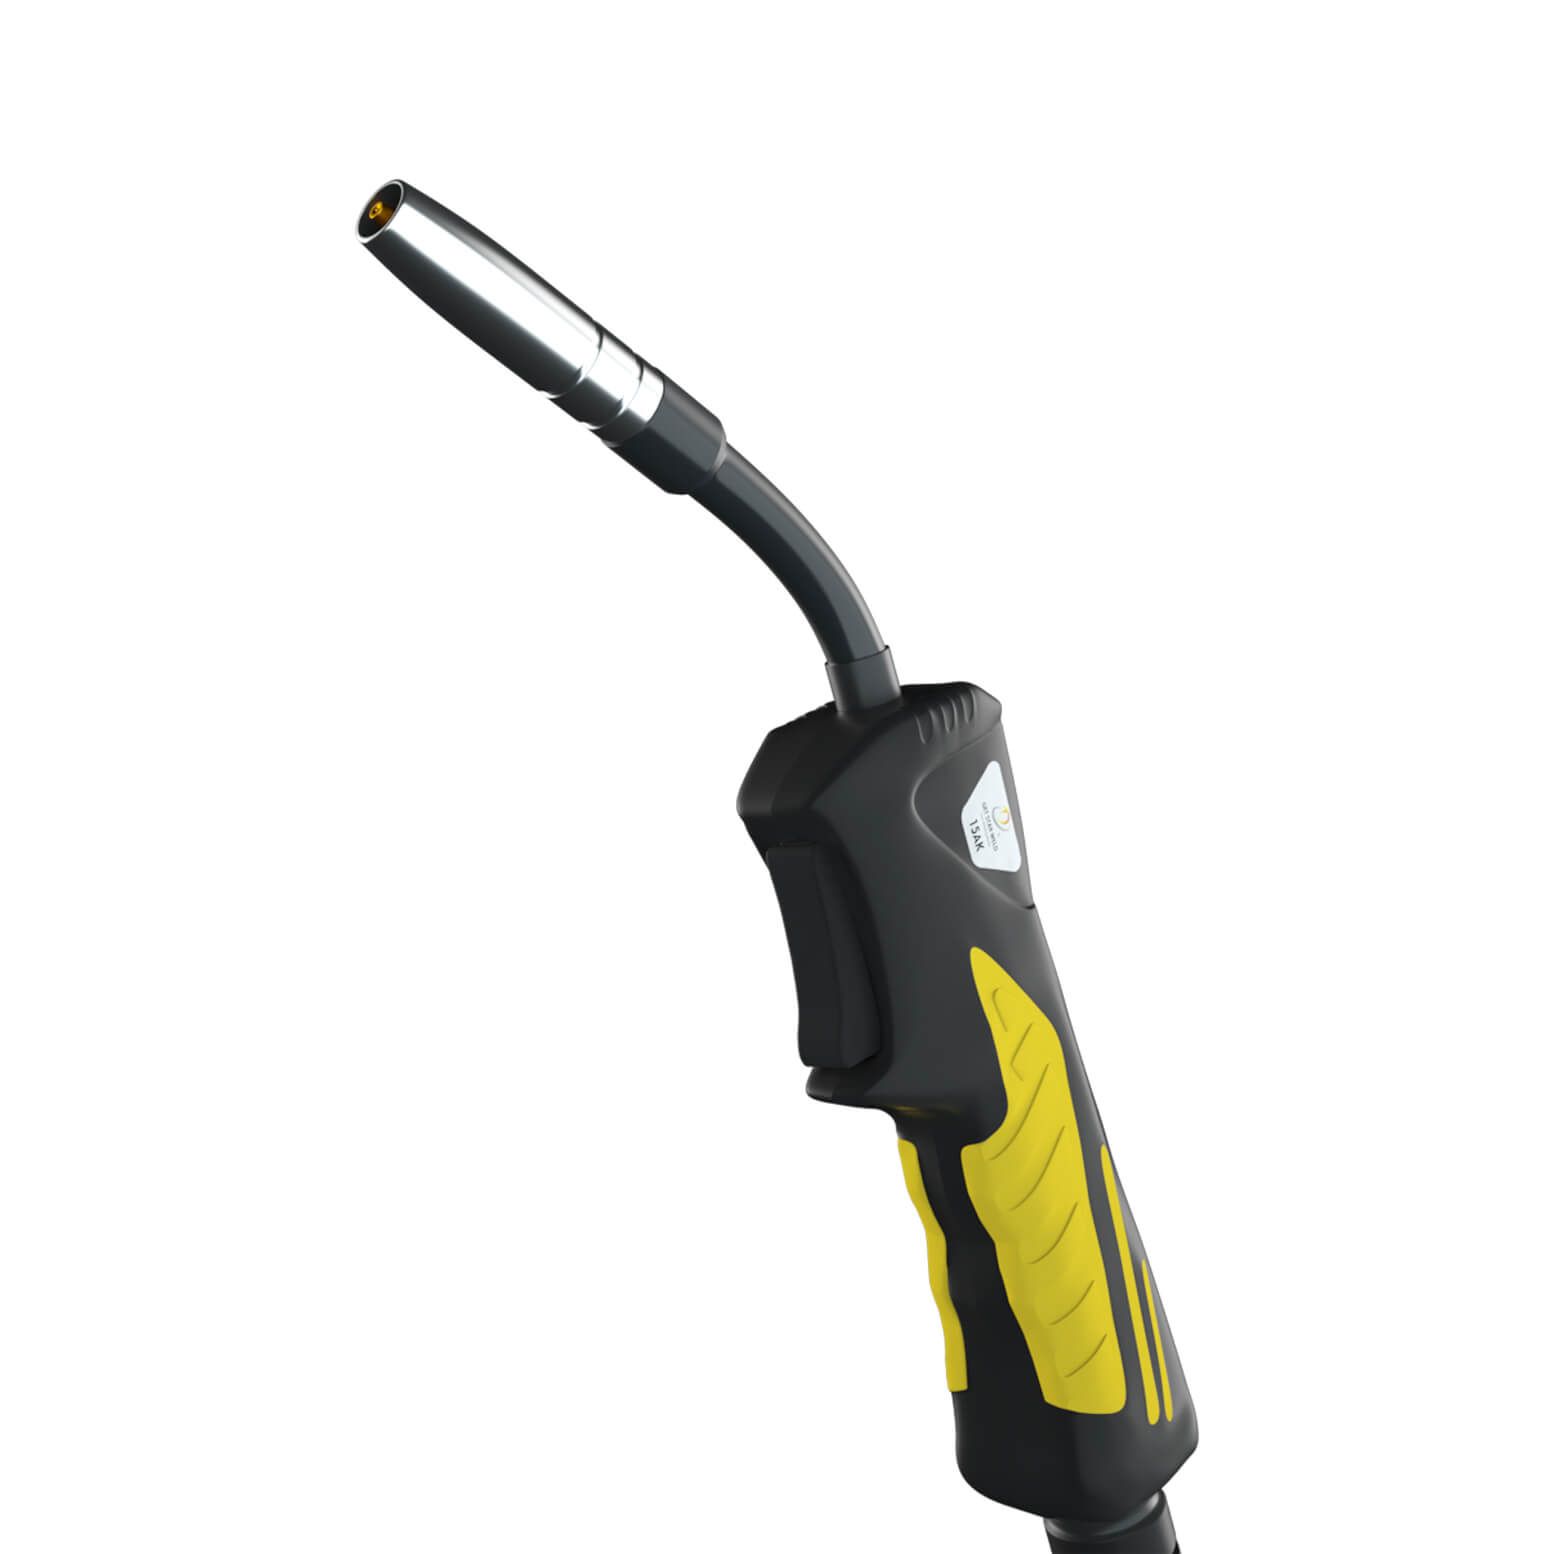
Before starting, it’s important to know how these torches differ, because your TIG torch setup choices - like tungsten size, cup, and back cap - depend on this. WP-17 is air-cooled with a rating of 150 amps (60% duty cycle). The WP-26 is air-cooled as well but can take up to 200 amps and is suitable for more extended welds and heavier material. Both have identical consumables, but the heat control of the WP-26 is more efficient. The WP-18 is water-cooled and designed to work hard, with a maximum of 350 amps at a 100% duty cycle.
The implication here is practical, which is the WP-17 is the same size as the WP-26 but is lighter because of less copper content. It has the same consumables as the WP-26 but with a lesser amperage rating. So the WP-26 is more heat-resistant when you have longer weld cycles or when you are working on a heavier plate. One of the benefits is that all three types of TIG torches can take the same type of consumables, the 3 series, which makes inventory management easier.
The most common mistake made by many assemblers is to hurry this process or to construct the incorrect order. This is the sequence that really works.
Check the parts in your hand before going together. Check all parts to make sure that they are of the proper size and type required in your particular welding work - the right size and type of collet body, gas lens, ceramic cup, and tungsten electrode.
It is a choice that most individuals overlook - and they should not. For high-quality integrity welding applications that demand high-quality and precise gas coverage, a gas lens arrangement is necessary. It additionally enables you to adjust the tungsten stick-out to provide more visibility of the weld pool, particularly in tight-access welds.
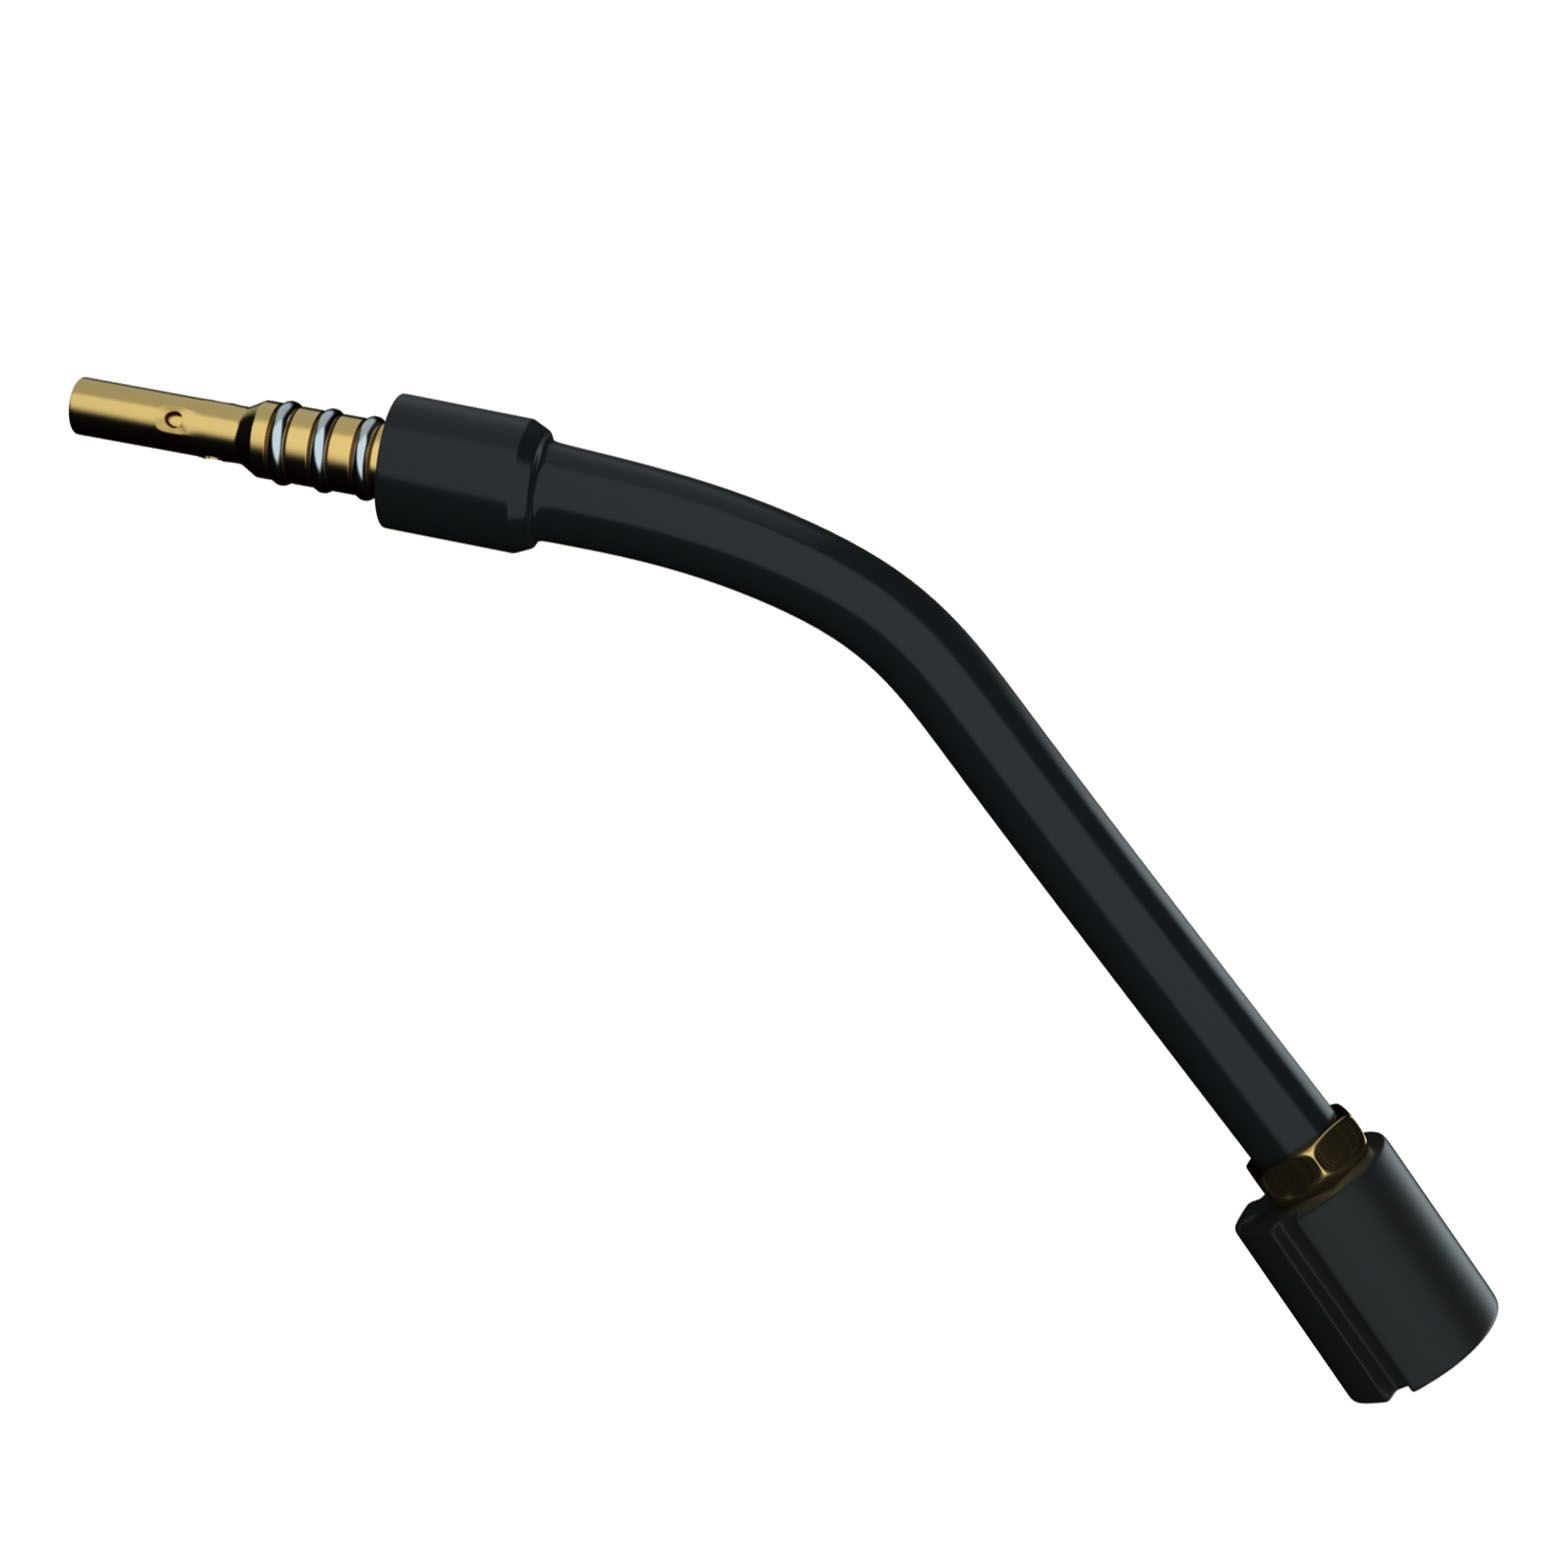
Install the collet and collet body, and then place the tungsten electrode. Ensure that there is a tight fit between the collet and tungsten, this can be used to ensure that conductivity is good and the arc is stable. The collet body should be threaded into the torch body first. It is usual that a cup will remain on the body of the collet, but in reality it should be screwed on separately.
After threading the collet body into the torch body, screw the ceramic cup onto the body. Fit it tightly, but be careful - it is usually ceramic over brass, and too much pressure may break it. Over-tightening cracks cups. Leaks occur immediately at the tip due to under-tightening.
Fit the back cap into the body of the torch without tightening. Next add the tungsten and collet. Install a nozzle and set the electrode to between 1/4 inch and 1/4 inch below the end of the nozzle.
Put the tungsten stick-out in position by loosening the back cap, and then you can move the tungsten freely. When the stick-out is satisfactory, tighten the back cap. Do not overtighten; the collet may be deformed, and the electrode lost.
In the case of the WP-17 and the WP-26, this is easy: just plug in your argon line, affix the power cable to the machine, and test any gas leak on every connection.
In the case of the WP-18, an additional step is needed. With water-cooled models, the correct hose connection is important: the blue water out hose of the cooler is connected to the cooler, the red power or return hose to the power connector, and the black gas hose to the correct receptacle. Do not operate a WP-18 without ensuring the presence of a coolant flow.
Once your TIG torch is set, a few smart practices can make a big difference.
Consistency is key when working with a TIG torch.
The majority of torch issues are related to either of these. You can find them easily in a busy shop, and you can fix them easily once you understand what to look at.
Assembling the cup before the collet body is fully seated - This is the most frequent error. It causes a shift of the collet off-axis and causes arc wander and tungsten slipping.
Over-tightening the back cap - Excessive tightening may bend the collet and make you lose the grip on the electrode within. A firm hand-tight is enough.
Missing gas lens inspection - Before the gas lens is inserted, it must be checked to avoid spatter or damage to make sure that the gas flows to the weld puddle. A partially blocked mesh screen silently kills gas coverage.
Running the WP-18 without monitoring the coolant level - In water-cooled TIG torches, ensure the cooler is filled to the appropriate level and monitored. Keep the cooler and pump in good condition and extend the life of the torch by using a non-conductive coolant. Mismatched collet and tungsten size - When the size of the collet is not the same as the tungsten, the electrode will either spin or change position when starting the arc. This is not as uncommon as it sounds, particularly with consumable kits becoming mixed up between torch setups.
A clean weld is not an accident but rather the outcome of the proper setup and proper TIG torch. When your torch is not performing, you are not only losing quality but also time, material, and money with each weld. The true question is, is your present TIG torch assisting your work? Or is it holding back? GetStarWeld provides professional-level TIG torch solution - WP-17, WP-18, and each one is designed for consistency, durability, and authentic production considerations.
Lorem ipsum dolor sit amet, consectetur adipiscing elit. Suspendisse viverra mauris eget tortor.