Welcome to Get Star Weld!

Welcome to Get Star Weld!
06 May, 2026
Porous welds, inconsistent beads, and spatter all over the plate. Most welders blame wire speed or voltage when these things happen. Very few stop to question whether their CO₂ gas regulator was even set up correctly or not. Here's the truth: a misconnected fitting, a wrong regulator type, or an incorrect flow rate will quietly wreck every weld you lay - and no amount of machine tuning will fix it. Because the problem isn't your MIG welding technique. It's what's happening between the gas cylinder and the nozzle. This guide will fix that. It will tell you the exact process to set up a CO₂ gas regulator for MIG welding in a way that's practical, easy to follow, and built for real workshop conditions.
Setting up well begins with the right parts. Setting up well begins with the right parts in front of you. Leaping over this step is how links are overlooked and gas is wasted before a single arc is hit.
The following is what a correct CO2 regulator system in MIG welding should consist of:
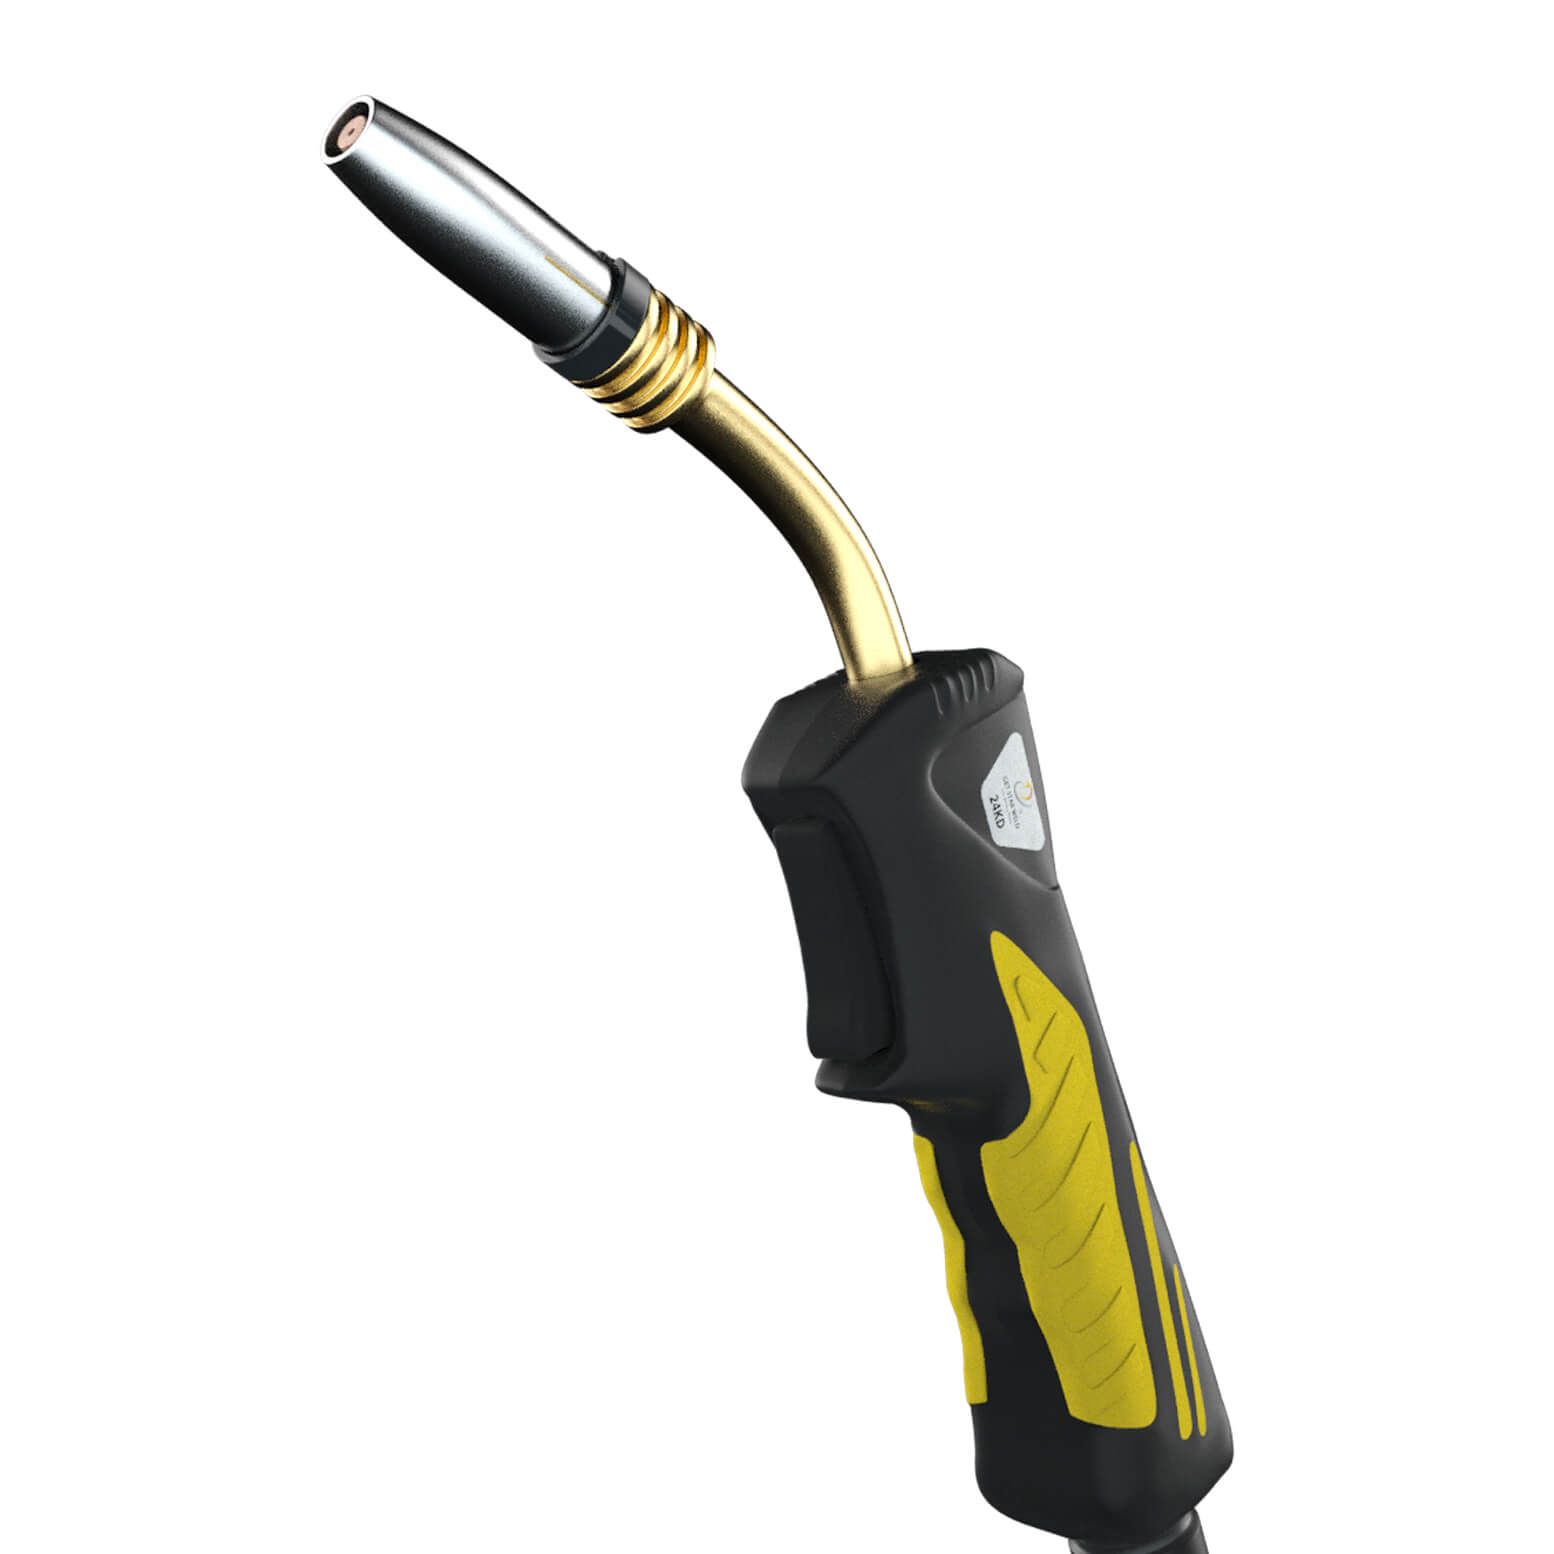
A CO₂-rated gas regulator and a flowmeter - Not a pressure-only gauge. The flowmeter displays CFH (cubic feet per hour), which is what literally regulates your shielding. PSI informs you of the degree of tank fill; CFH informs you of the degree of reaching gas to the weld pool.
CGA-320 on the regulator inlet, or a CGA-320 to CGA-580 adapter, in the case of an argon-compatible regulator.
An undamaged, clean gas hose - Rubber hose is desirable in CO₂ service. Rubber resists heat and kinking and is much more flexible, particularly in colder shop conditions.
Soapy water or a leak detection solution for connection testing.
A well-locked cylinder - chained to a wall, post, or welding cart. CO₂ cylinders are high-pressure vessels. They are not to be sat on unsecured.
The setup process is easy once everything is in front of you. The trick is to do it in the correct sequence.
Always work in this order, not only on initial installation but also when you swap cylinders or relocate equipment.
Before the regulator is attached, open the cylinder valve for half a second and close it. This is referred to as cracking of the valve. It evacuates any dust or debris that may be in the valve opening. Debris that gets into the regulator body will damage the body internally over the long run and give distorted flow readings.
Install the CGA-320 connection on the CO₂ cylinder valve by hand, then screw it tight with a wrench - not too tight. When you have a CGA-320 to CGA-580 adapter, just screw the adapter to the cylinder, and on top of the adapter screw the regulator.
Install the regulator outlet hose to the gas inlet fitting of your MIG welding machine. Tighten by hand and then use a wrench to complete. Do not apply PTFE tape to gas fittings - these are made to be sealed with metal-to-metal or nylon washers. The seal can be disrupted by the tape, and the gas stream contaminated.
This is a step more than most individuals might think. Open the cylinder valve gradually - full blast may break the regulator. The regulator diaphragm may blow out due to a sudden rush of pressure, especially in CO₂ service, where the pressure difference between the cylinder and atmosphere is large. Open it slowly and steadily turn it round,- no sudden releases.
Use soapy water on the connection between the cylinder regulator and the adapter (where used) and the hose fitting at the welder. When you see bubbles, you're dealing with a gas leak. Even a slow leak will empty your cylinder between sessions
This is where most operators set it wrong, in one of two directions. With pure CO₂ (indoor welding), a good starting flow rate is 10-15 CFH. When you find the weld porous, raise it to 20-30 CFH. When the environment is open or drafty, then add 5-10 CFH to allow air movement.
Without welding, trigger the gun and hear the steady and constant gas flow. No turbulence, no feeble hissing, no change. This is the confirmation that the line is clear, connections are sealed and the regulator is providing the right volume.
Even experienced users make small mistakes that affect results. Avoid these common issues:
Fixing these ensures better MIG welding performance and reduces downtime.
A properly adjusted CO₂ regulator is not just a setup procedure; it is the cornerstone of quality welding. It enhances the strength of the welds, minimizes waste, and helps in the overall efficiency when performed correctly. To achieve consistent outcomes in MIG welding, you must have good equipment and a system that you can rely on. It is where GetStarWeld fits in perfectly. With precision regulators or advanced welding solutions, GetStarweld can assist businesses in producing more with less work. Upgrade your MIG welding system, and experience the difference with each weld.
What is the optimum pressure of MIG welding using CO₂?
The optimum flow rate is normally 10-20 liters per minute, depending on the environment and material.
Can pure CO₂ be used in MIG welding?
Yes, pure CO₂ is usually used. It provides high penetration but can have a bigger spatter than mixed gases.
Why does my MIG welding have too much spatter?
This usually occurs as a result of improper gas flow, improper voltage, or improper gas coverage.
What is the frequency of my gas setup checking?
Before you start any significant job you should check your MIG welding set up to check on the safety and performance.
Lorem ipsum dolor sit amet, consectetur adipiscing elit. Suspendisse viverra mauris eget tortor.